Kada Recipe
ქადა
A home-style kada recipe: a tender matsoni and butter dough wrapped around toasted flour, butter and sugar, cut into slices and baked golden. A Georgian pastry for the tea table, with the round village kada in the variations.
Recipe by the Maspindzeli team in Tbilisi · Updated 16 Nov 2026 · Made everywhere in Georgia; the shape and filling change from region to region
Full recipe with the timeline, timers and US measures: maspindzeli.ge/recipes/kada/
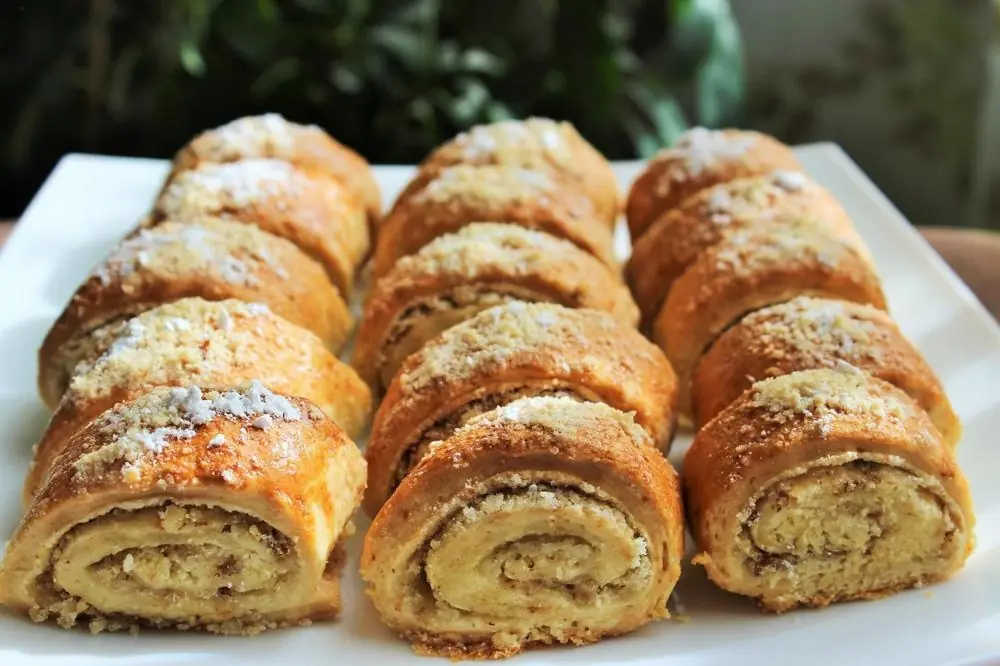
This kada recipe makes the rolled and sliced kind that fills most Georgian recipe collections today. A soft dough of flour, cold butter and matsoni is folded for layers and rolled thin, then covered with a crumbly mix of toasted flour, butter and sugar, rolled into a log, sliced and baked. In the oven the filling melts into the layers and tastes of browned butter and biscuit. You may also see the name written qada.
The pastry has many local forms. Village cooks, and households in Meskheti, often seal the filling inside a round of layered dough and press it into a thick cake, while in Khevsureti, Mtiuleti and other high valleys kada can be a savoury feast bread with cheese or meat inside. Butter pastries built on a sweet flour filling are baked right across the Caucasus, Armenian gata among them.
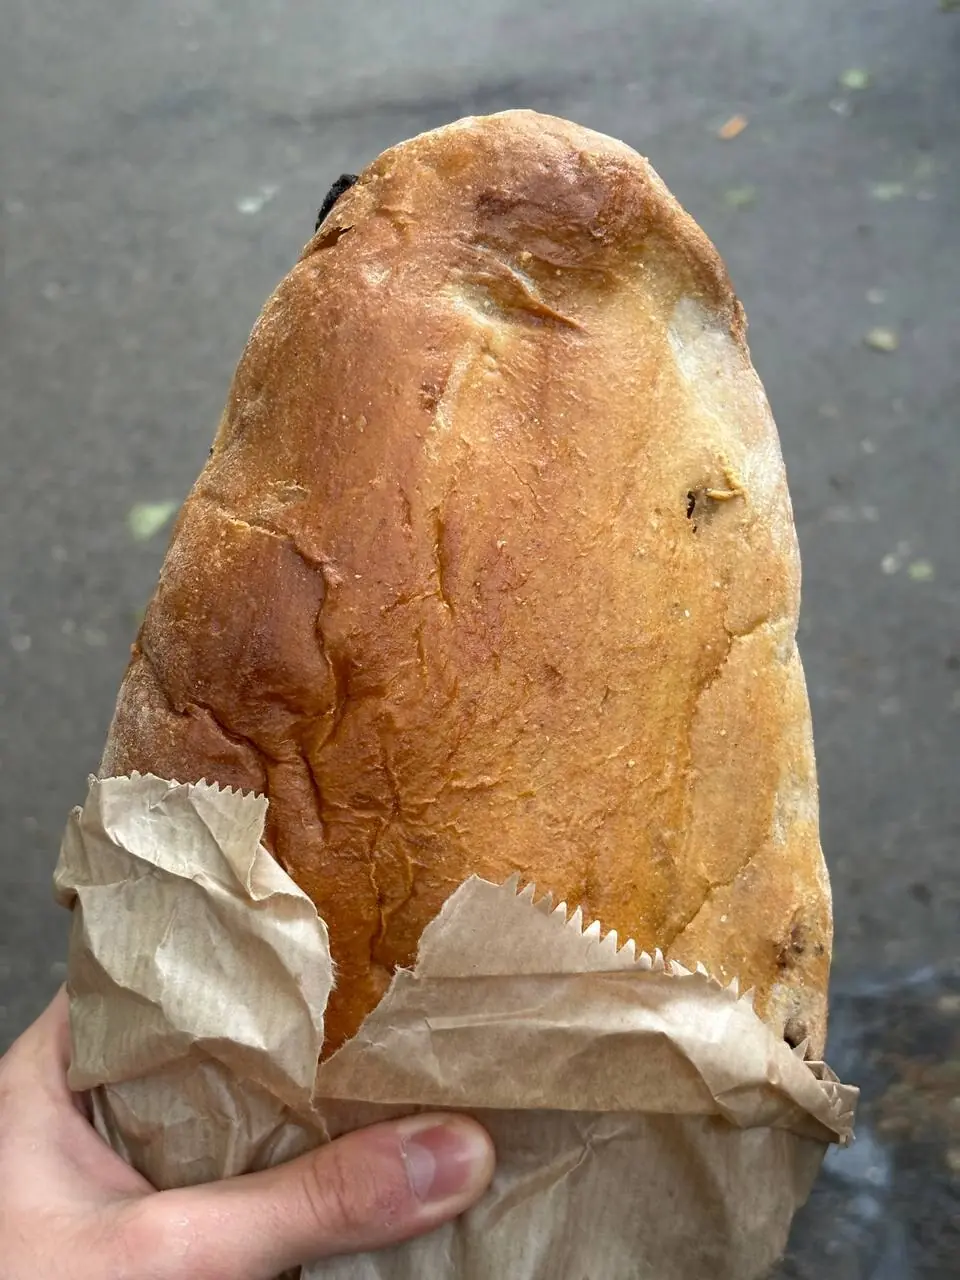
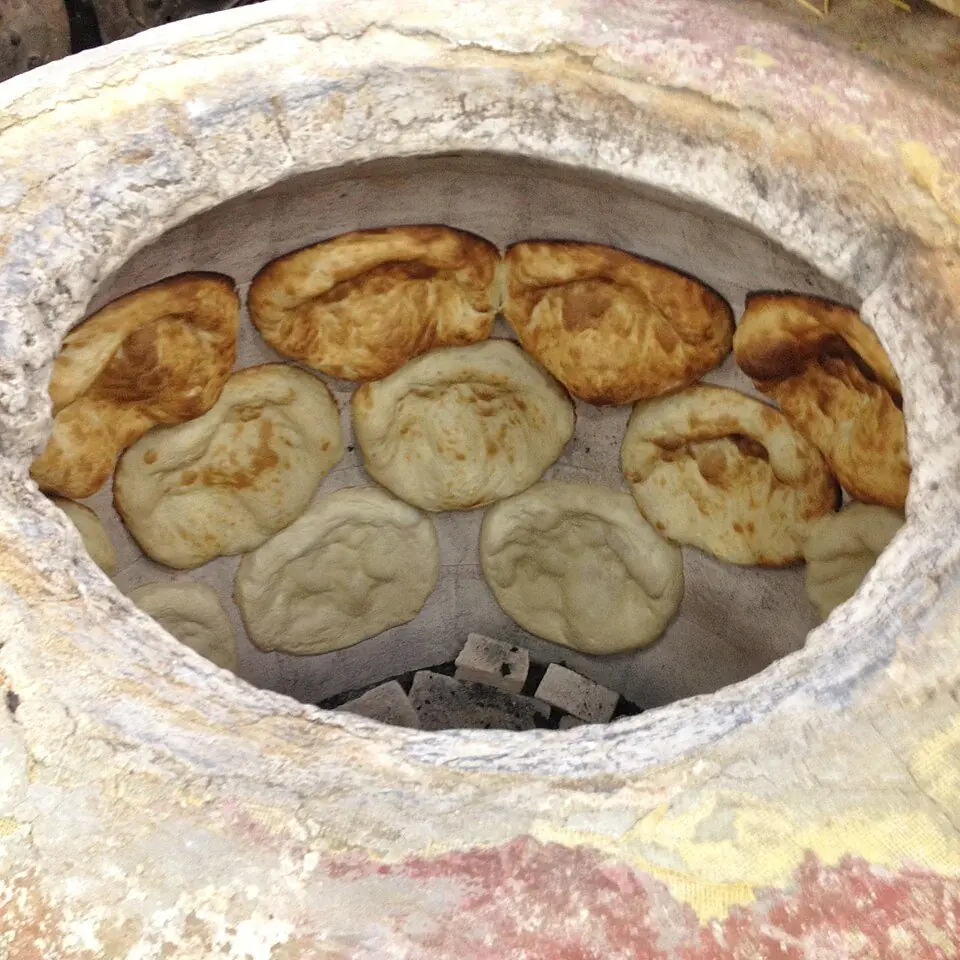
In Georgia kada goes with a glass of tea or a cup of coffee, at breakfast or in the afternoon, and bakeries sell it by the piece. It is a holiday bake too: families in Kartli and Kakheti make it for Christmas, and mountain villages bake it for Easter. Our guides to Georgian bread and to a Georgian Christmas tell more of that story; this page shows how to make kada at home.
Timeline: what to do, and when
2 h 45 min from start to table · 1 h 13 min hands-on · 1 h 20 min waiting
Each bar is one step. Hands-on Waiting, while the oven, the pot or the dough does the work. Steps that sit inside a wait are done in parallel.
Recipe
Kada
Ingredients
Dough
Filling
To finish
Amounts are scaled. Times stay about the same, but a bigger pot takes a little longer to come to the boil.
Contains: gluten (wheat), milk, egg.
You will need
- Large mixing bowl
- Coarse grater (optional, for the butter)
- Wide heavy frying pan
- Flat wooden spatula
- Rolling pin
- Pastry brush
- Sharp knife or a crinkle-edged pastry cutter
- 2 baking trays lined with baking paper
- Wire rack
Method
- Make the dough15 min hands-on· start here
Stir the bicarbonate of soda into the cold matsoni and leave it for a few minutes until it foams a little, then beat in the egg. In a large bowl mix the flour and salt, coarsely grate in the cold butter (or cut it into small cubes) and work it into the flour between your fingers until it resembles coarse breadcrumbs, with a few pea-sized bits of butter left. Pour in the matsoni mixture, stir with a fork, then knead for 2 to 3 minutes only, until you have a soft, slightly tacky dough. Pat it into a flat rectangle and wrap it.
- Chill the dough30 min waiting· starts at +15 min
Put the wrapped dough in the fridge for 30 minutes so the butter firms up again.
- Toast the flour15 min hands-on· starts at +17 min, during step 2
Tip the 200 g of filling flour into a dry, wide frying pan over medium-low heat. Stir and turn it without stopping for 10 to 12 minutes, until it turns an even pale fawn with a pinkish tinge and smells nutty; turn the heat down if the edges colour faster than the middle. Add the butter and keep stirring for 2 to 3 minutes until it is absorbed and the mixture looks like damp sand. Spread it out in a wide bowl or on a tray to cool.
- Sweeten the filling3 min hands-on· starts at +40 min, during step 2
Once the toasted mixture is only just warm, stir in the sugar, vanilla and a pinch of salt. Rub any lumps between your fingers: the filling should stay loose and crumbly, holding together only when you squeeze it. Set aside 3 tablespoons of it for the tops. Leave it to cool completely.
- Fold for layers10 min hands-on· starts at +45 min
On a lightly floured worktop roll the chilled dough into a rectangle about 40 x 20 cm. Fold it in three like a letter, give it a quarter turn, roll it out again to the same size and fold it in three once more. If butter breaks through the surface, dust it with a little flour. Wrap it again.
- Chill again30 min waiting· starts at +55 min
Return the dough to the fridge for another 30 minutes, so it relaxes and rolls out without shrinking.
- Roll, fill and roll up20 min hands-on· starts at +1 h 25 min
Switch the oven on to 180 °C / 355 °F, or 160 °C / 320 °F with a fan, and line two trays with baking paper. Divide the dough into three equal pieces; two go back in the fridge while you work on the first. Roll it into a rectangle about 35 x 25 cm and 3 to 4 mm thick, brush it thinly with egg white and scatter over a third of the remaining filling, leaving a 2 cm strip bare along the far long edge. Press the filling down lightly with your palm, then roll the dough up firmly from the near long side and pinch the bare edge onto the roll. Lay it seam side down and repeat with the other two pieces.
- Glaze, top and cut10 min hands-on· starts at +1 h 45 min
Press each roll very lightly with your palm so it sits steady but stays round. Beat the yolk with the milk, brush it over the tops and sprinkle them with the filling you set aside. Cut each roll straight across into pieces about 3 cm wide and stand them on the trays glazed side up, as they sat in the roll, with 3 cm between them, about 15 to a tray.
- Bake30 min waiting· starts at +1 h 55 min
Bake both trays together in a fan oven for 25 to 30 minutes, swapping them over after 15 minutes, until the pieces are deep golden on top and underneath. In an oven without a fan, bake one tray at a time at 180 °C / 355 °F, which adds about half an hour.
- Cool and serve20 min waiting· starts at +2 h 25 min
Leave the kada on the trays for 5 minutes, then move the pieces to a wire rack. Let them cool for at least 15 minutes more so the molten filling sets. Dust them with a little icing sugar if you like and serve them warm or at room temperature.
About 425 kcal per serving (2 pieces, 1 of 15). This is an estimate from standard values for the ingredients, not a lab figure.
Pick it up with your fingers and eat it warm or at room temperature, with something hot to drink. A round kada is cut into wedges at the table, like a cake.
Tips, swaps and variations
Tips from your host
- Toast the flour slowly and keep it moving. Stop when it smells like roasted nuts and has the colour of milky tea: pale flour tastes raw, and flour taken too dark turns the whole filling bitter.
- Wait for the toasted flour and butter to cool before the sugar goes in. Hot, the sugar melts into a sticky toffee; cool, it stays in loose crumbs that bake into thin sweet layers.
- Keep the dough cold and roll one piece at a time while the rest waits in the fridge. Streaks of butter you can see in the dough are what open into layers in the oven.
- The thin brushing of egg white under the filling glues the crumbs to the dough, so the slices keep their spiral when you cut them.
- Cut with one firm downward push of a sharp knife rather than sawing, and wipe the blade now and then. A crinkle cutter gives the zigzag edge many Georgian home bakers like.
- Judge the bake by the underside, not only the top. Lift a piece with a spatula: it should be golden underneath, or the centre of the spiral will be doughy.
Variations and swaps
- Round kada: instead of rolls, shape the dough into three balls. Roll each into a 25 cm circle, heap a third of the filling in the middle, gather the edges over it and pinch them shut. Turn it seam side down, roll it gently into a round about 20 cm across and a finger thick, prick it three or four times with a fork, glaze with yolk and bake at 200 °C / 390 °F for 25 to 30 minutes. Cut it into wedges. Village and Meskhetian recipes make kada in this sealed shape.
- Yeast dough: for a softer, more bread-like kada, warm 250 ml milk and dissolve 1 tsp sugar and a 7 g sachet of dried yeast in it, then mix with 600 g plain flour, 2 egg yolks, 1/2 tsp salt and the grated zest of half a lemon. Leave it to rise until doubled, about an hour, then roll it out, brush it with melted butter, fold it in three and chill it; do this twice before filling.
- No-cook filling: many recent Georgian recipes skip the pan. Rub the filling flour, softened butter, sugar and vanilla together with your fingertips until it looks like damp sand. It bakes paler and sweeter, closer to shortbread.
- Walnuts and spice: stir 100 g finely chopped walnuts and 1/2 tsp ground cinnamon into the cooled filling. Older Georgian cookbooks also add a pinch of ground cloves. It now contains nuts.
- Kada coil: skip the cutting for one of the rolls and coil it loosely, seam down, into a buttered 20 cm round tin, glaze it and bake at 180 °C / 355 °F for about 40 minutes, until deep golden. Old recipes shape it from an unsweetened water dough that is buttered and folded several times.
- Lenten kada: for fasting days some Georgian cooks use margarine instead of butter and leave out the egg. For a version with no dairy at all, use a plant-based baking block in the dough and filling, replace the matsoni with 200 ml cold water and 1 tbsp lemon juice, and brush the rolls with sugared water instead of yolk.
- Savoury mountain kada: in Khevsureti and other highland areas the feast kada is filled with salted cheese, chopped meat or a cooked flour-and-butter mixture instead of sugar. For a taste of it, leave the sugar out of the filling, salt it well and mix in crumbled cheese.
Serve it with
- A glass of strong black tea
- A small cup of strong coffee
- A glass of cold or warm milk
- Fresh fruit, or a bowl of berries in summer
- At Easter, paska and red-dyed eggs
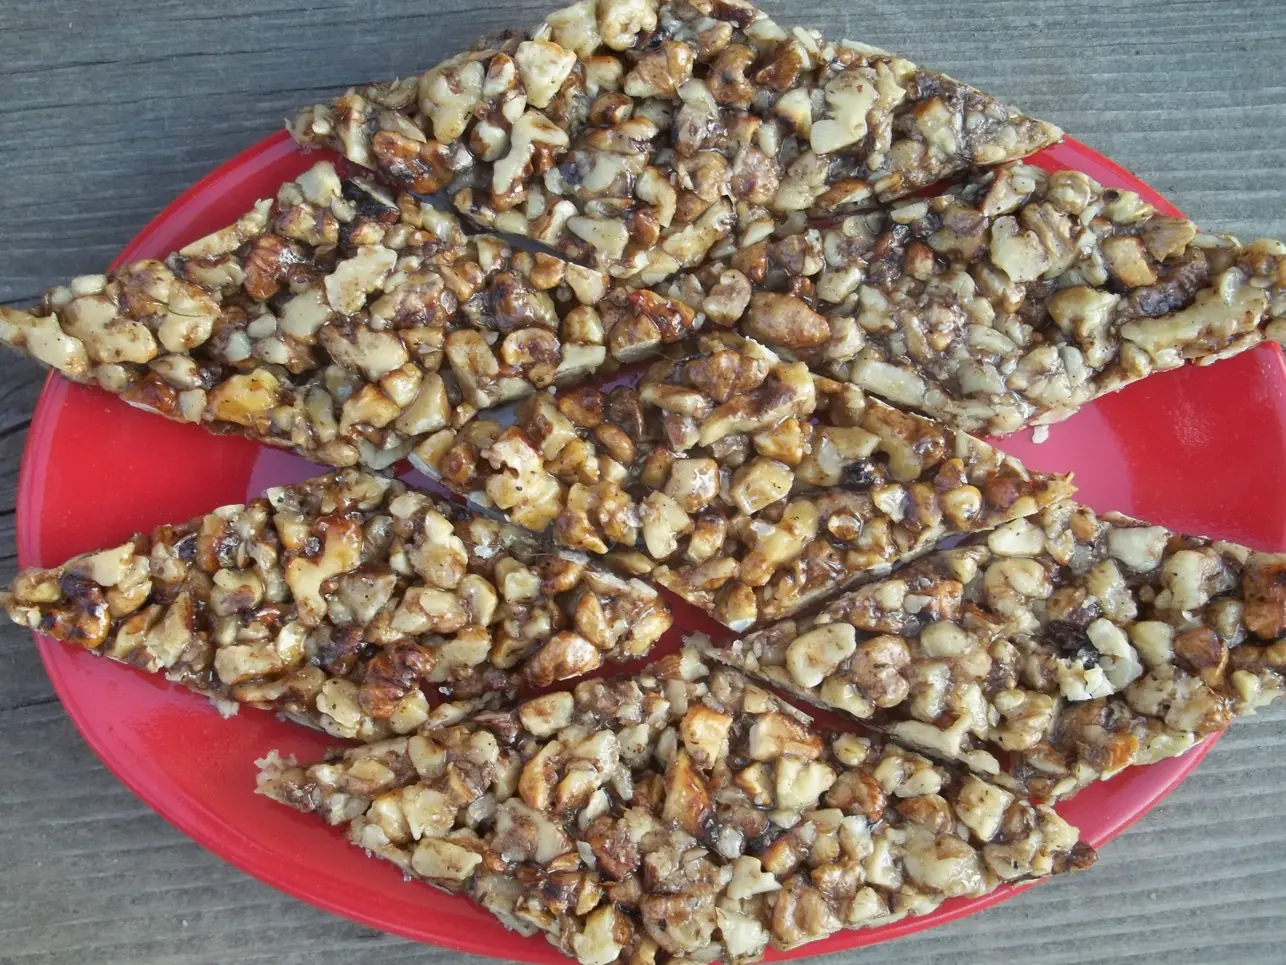
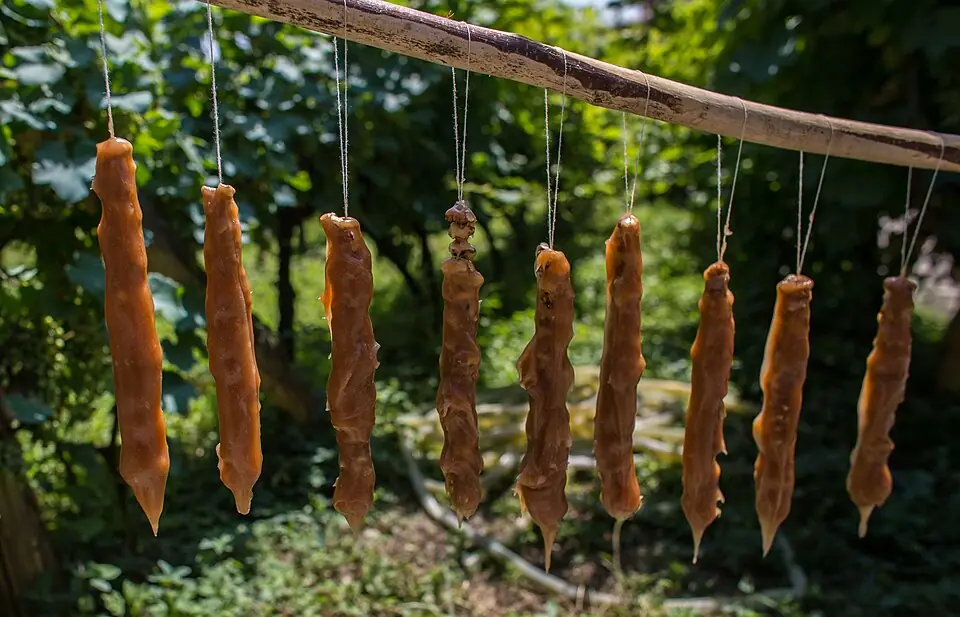
- Churchkhela and gozinaki on a holiday sweets table
Make ahead and storage
Kada keeps well. Store the cooled pieces in a tin or a closed box at room temperature for up to 4 days; they lose a little crispness after the first day, so warm them for 5 minutes in an oven at 160 °C / 320 °F. Baked kada freezes for up to 2 months. To get ahead, make the dough and the filling the day before and keep both wrapped in the fridge; let the filling come back to room temperature so it crumbles again.


Maspindzeli Travel, Tbilisi · private tours and cooking classes in Georgia · maspindzeli.ge · WhatsApp +995 598 74 74 54 · hello@maspindzeli.ge