Tklapi Recipe
ტყლაპი
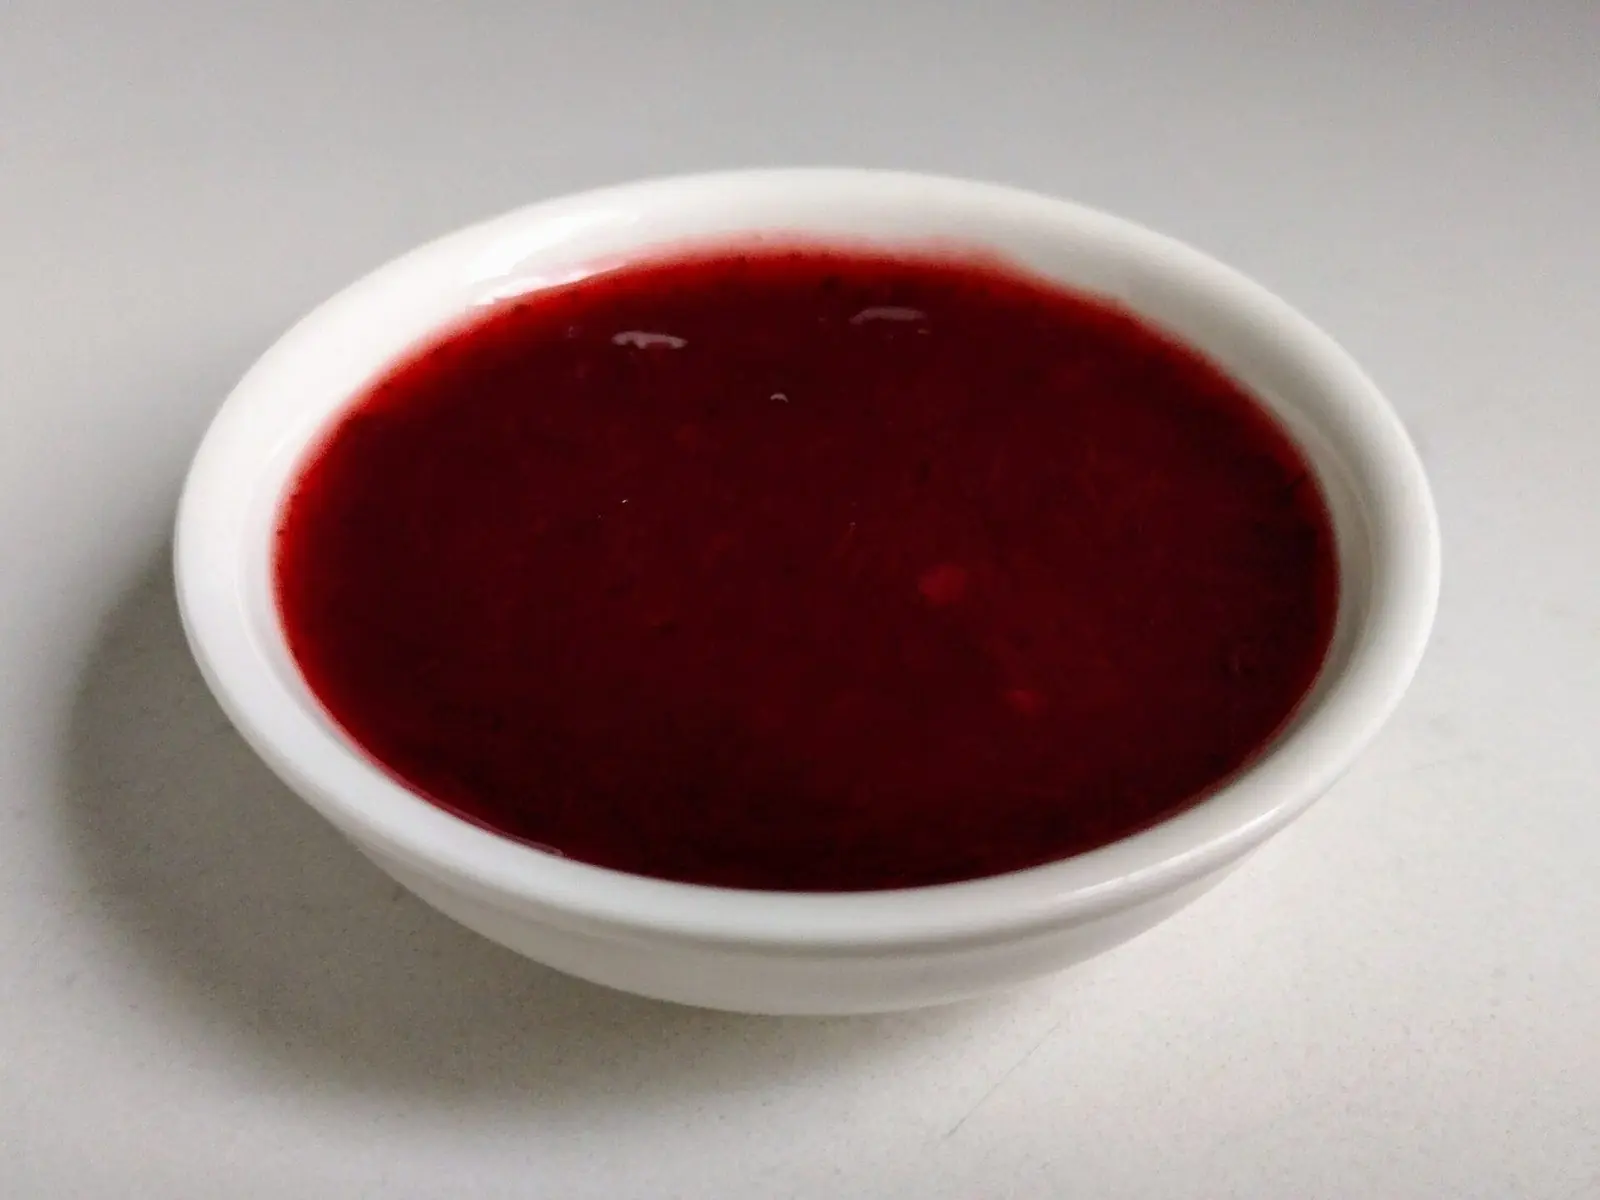
A home tklapi recipe for the sour plum leather Georgian families make every summer: cherry plums simmered, sieved and dried into thin sheets in a very low oven. Tear off a piece to sharpen kharcho, or chew a strip as a tart snack.
Recipe by the Maspindzeli team in Tbilisi · Updated 22 Nov 2026 · Made all over Georgia in plum season and sold rolled up in every market
Full recipe with the timeline, timers and US measures: maspindzeli.ge/recipes/tklapi/
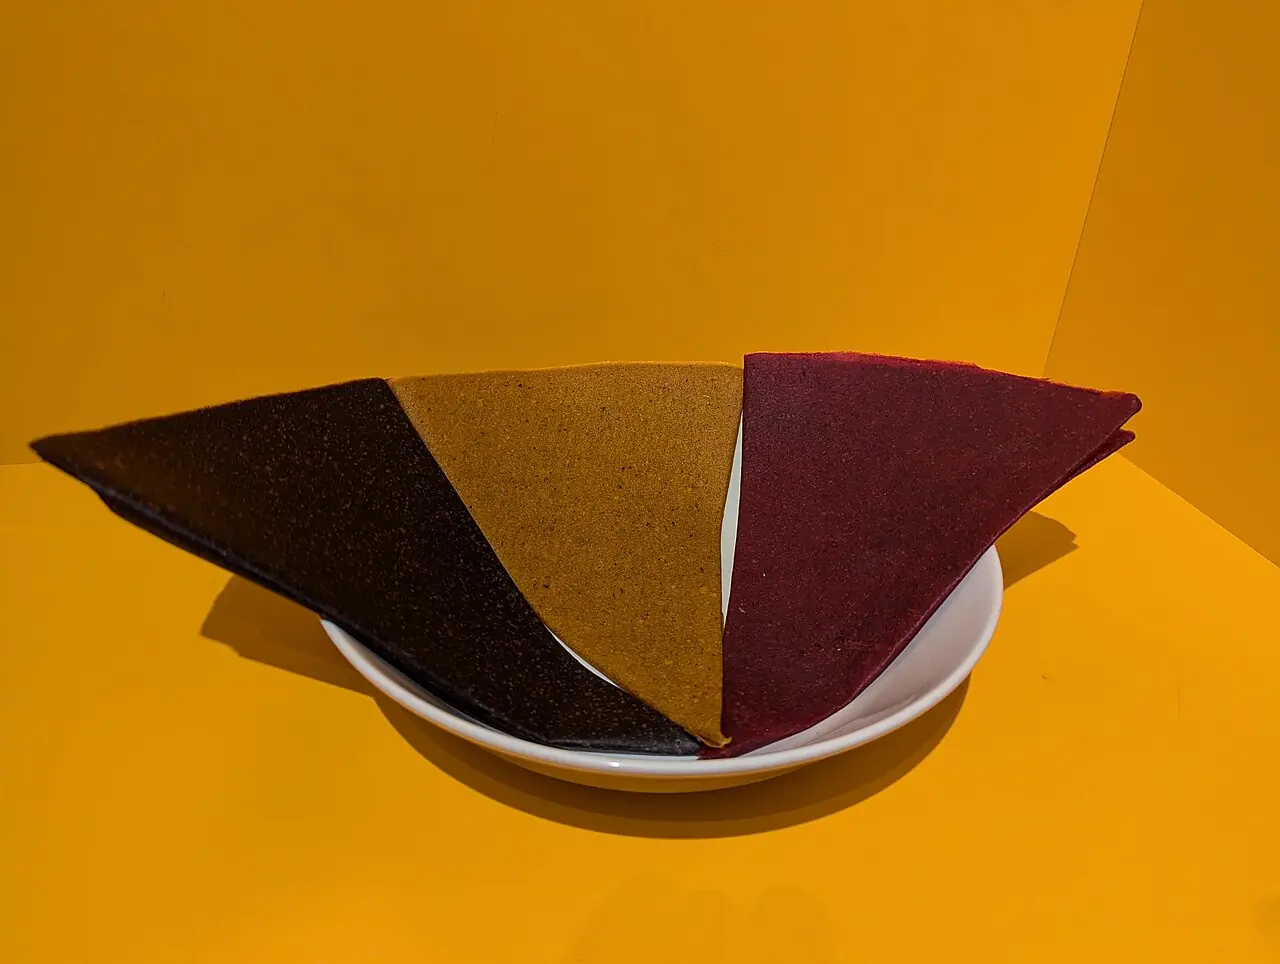
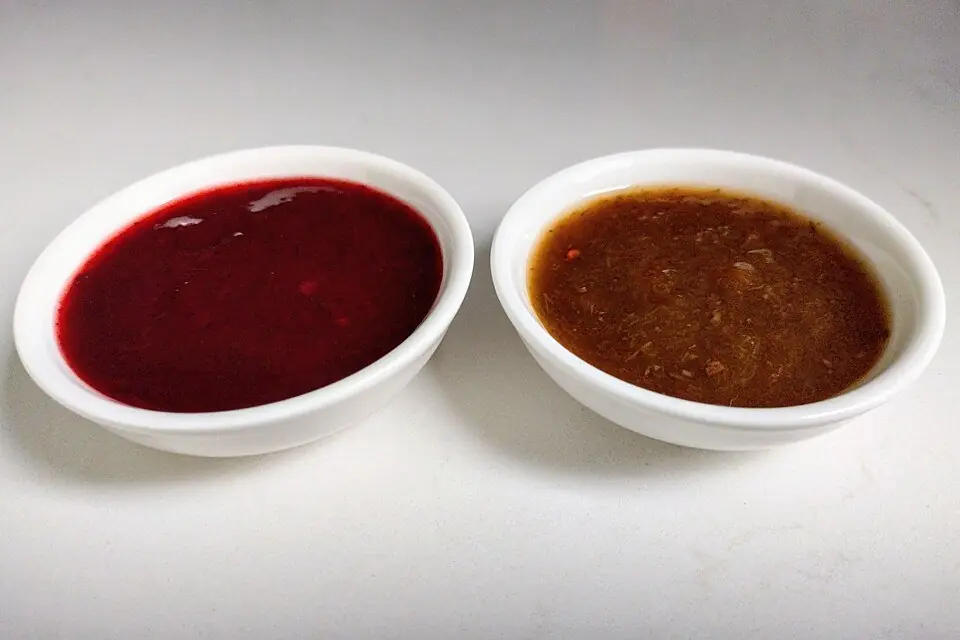
This tklapi recipe turns a kilo of sour cherry plums into two thin sheets of dark red fruit leather, the way Georgian households keep the taste of tkemali plums going through the winter. The fruit is softened with a splash of water, rubbed through a sieve, cooked down a little and then dried until each sheet lifts off its tray in one piece. You will also see it spelt tqlapi, labelled tklapi fruit leather or Georgian fruit leather, or written ტყლაპი on a market sign.
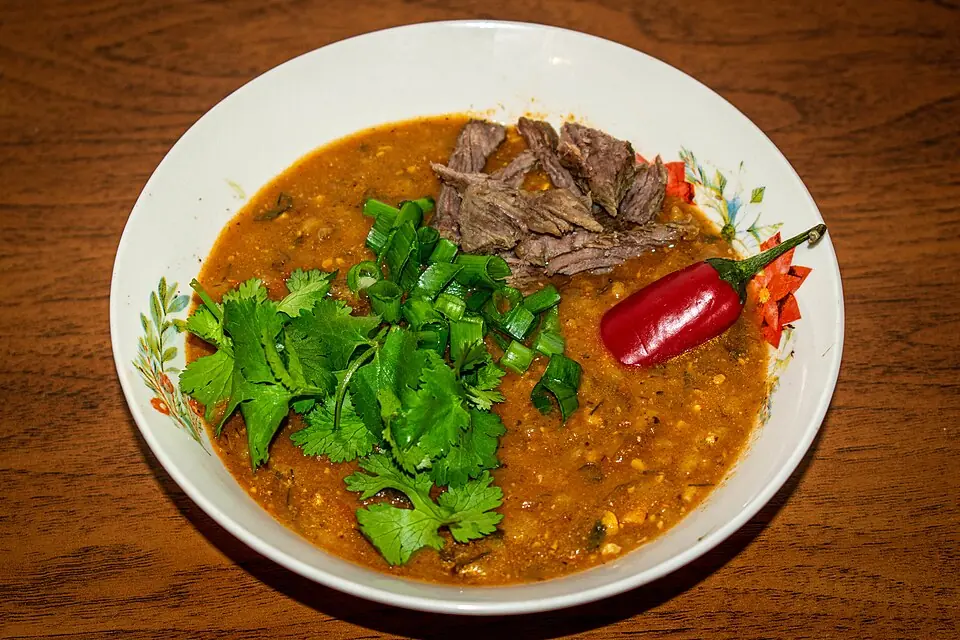
The sour kind is a pantry staple more than a sweet. A piece soaked in hot water gives kharcho its tart edge, some cooks melt a little into chikhirtma or a pot of beans, and plenty of people simply chew it in strips. Families also keep it as a folk remedy for sore throats. Sweeter sheets of apricot, peach, apple or grape are made in much the same way and eaten as snacks; you will find them under variations.
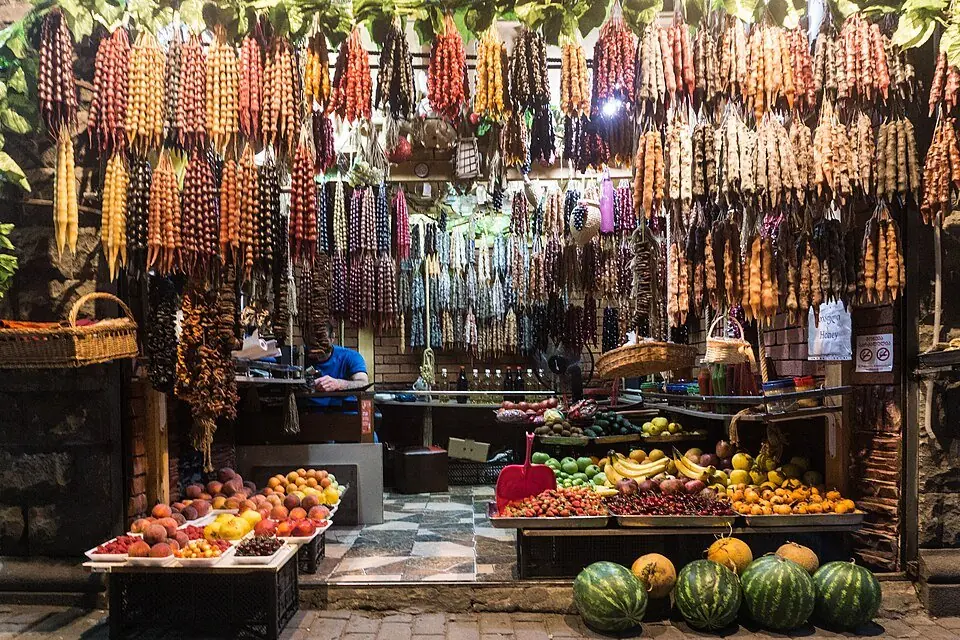
In Georgia the purée is spread on boards or cloth and left in the hot sun for several days. At home a very low oven with the door propped open does the job in about ten hours, nearly all of it waiting. Below is how to make tklapi either way, how to tell when it is dry, and how much to use in place of tkemali sauce.
Timeline: what to do, and when
11 h 35 min from start to table · 1 h 15 min hands-on · 10 h 5 min waiting
Each bar is one step. Hands-on Waiting, while the oven, the pot or the dough does the work. Steps that sit inside a wait are done in parallel.
Dashed stretches are long waits, shortened on the chart so the busy steps stay readable.
Recipe
Tklapi
Ingredients
Tklapi
Amounts are scaled. Times stay about the same, but a bigger pot takes a little longer to come to the boil.
You will need
- Wide heavy-based pan (3 to 4 litres) with a lid
- Sieve and a large bowl, or a food mill
- Ladle or wooden spoon for pushing the fruit through
- 2 large baking trays, about 30 x 40 cm
- Baking paper or silicone baking mats
- Offset spatula or the back of a large spoon
- Oven that holds 60 to 70 °C / 140 to 160 °F, a wooden spoon to wedge the door, and an oven thermometer if you have one
- Airtight jar or tin for storing
Method
- Sort and rinse the plums5 min hands-on· start here
Wash the plums in a big bowl of cold water, picking off stalks and leaves as you go. Throw out split, mouldy or fermenting fruit, because one bad plum can taint the whole batch. Lift the rest into a colander; the stones stay in for now.
- Start the pot5 min hands-on· starts at +5 min
Put the plums and the 100 ml water in the wide pan, cover and set it over a medium heat. Stir once or twice as it comes to the boil, so the fruit on the bottom does not catch before it lets go of its juice.
- Simmer until the stones come free20 min waiting· starts at +10 min
Turn the heat down, set the lid ajar and let the plums bubble gently for about 20 minutes, stirring every few minutes. They are ready when the skins have split and the flesh slips off the stones as you press a plum against the side of the pan.
- Line the trays5 min hands-on· starts at +15 min, during step 3
Meanwhile cut baking paper to fit both trays and brush it very thinly with the oil, or lay a silicone mat on each. A bare film of oil is enough; it simply helps the dried sheet come away cleanly.
- Rub through a sieve15 min hands-on· starts at +30 min
Set the sieve over the large bowl and work the hot fruit through it a ladleful at a time, pressing and scraping with the back of the ladle. Now and then run a spatula over the underside of the sieve, where a lot of the purée collects. Discard the skins and stones. A food mill does this faster.
- Cook the purée down20 min hands-on· starts at +45 min
Return the purée to the rinsed pan and cook it over a medium heat for 15 to 20 minutes, stirring constantly because it spits. Stop when it is as thick as loose ketchup and a spoon drawn across the base leaves a clear path for a moment. You should have about 600 g. Nothing else goes in: no sugar, no salt.
- Cool and heat the oven15 min waiting· starts at +1 h 5 min
Take the pan off the heat and let the purée cool until just warm. Heat the oven to 65 °C / 150 °F (60 °C / 140 °F with a fan) and stand an oven thermometer on the middle shelf if you have one.
- Spread the purée thinly10 min hands-on· starts at +1 h 20 min
Spoon half the purée onto each tray and spread it with the spatula into an even layer 2 to 3 mm thick, roughly the thickness of a coin. Leave a 1 to 2 cm border of bare paper so you have an edge to lift later. Tap each tray firmly on the worktop a few times to level the surface.
- Dry in the oven8 h waiting· starts at +1 h 30 min
Slide in both trays and wedge the oven door open by 2 to 3 cm with a wooden spoon so the steam can escape. Keep the heat between 60 and 70 °C / 160 °F and swap the trays round halfway. Start checking after 5 hours; most ovens need 6 to 9. It is ready to turn when the middle is no longer tacky and a corner peels up from the paper without tearing.
- Peel and turn the sheets5 min hands-on· starts at +9 h 30 min
Lift each sheet off its paper, starting from a corner, and lay it back on the tray the other way up, so the damp underside faces the air. If the paper clings, dab the back of it with a little warm water and wait a minute before pulling again.
- Finish drying1 h 30 min waiting· starts at +9 h 35 min
Give the sheets 1 to 2 hours more. Tklapi is done when both sides feel dry, a fingertip pressed into the centre leaves no dent, and the sheet bends without cracking. A faint tackiness is normal; damp patches are not.
- Cool20 min waiting· starts at +11 h 5 min
Switch off the oven and let the sheets cool on the trays. They firm up as they cool, so check the texture again once they reach room temperature and return them for a while if the centre still feels soft.
- Cut and roll10 min hands-on· starts at +11 h 25 min
Lay each sheet on a fresh piece of baking paper and roll the two up together, then cut the roll into short lengths, or cut 10 cm squares ready for cooking. Pack everything into a dry jar or tin.
About 25 kcal per serving (1 of 12, about 11 g). This is an estimate from standard values for the ingredients, not a lab figure.
As a snack, unroll a little and bite it off, or slice a roll into thin ribbons to pass round the table. For cooking, tear off a piece, soak it in hot water or broth until soft and mash it before it goes into the pot.
Tips, swaps and variations
Tips from your host
- Taste a raw plum before you start. The more it makes you wince, the better the tklapi will season a soup. Sweet dessert plums give a pleasant snack but hardly change a pot of kharcho.
- Spread the layer as evenly as you can. Thin patches go brittle and dark long before a thick middle is dry, so smooth out any ridges and level each tray by tapping it.
- Keep the heat low. Above about 75 °C / 165 °F the purée starts to cook and darken instead of drying, and the edges turn crisp. Oven dials are rarely accurate at such low settings, so a cheap thermometer is worth having.
- Leave sugar out of the batch you mean to cook with. Sugar holds on to water, so a sweetened sheet dries more slowly and stays soft, and it is the plain sour one that kharcho needs.
- Never spread the purée straight onto foil or waxed paper, because sour fruit sticks hard to both. Silicone mats release best, then baking paper with a thin film of oil.
- To cook with it, tear off what you need, soak it in a little hot water or broth for about 10 minutes and mash it smooth with a fork. It then melts evenly into the pot instead of floating about in rags.
Variations and swaps
- Sun-dried, as in Georgia: on hot, dry days of 25 °C / 75 °F or more, spread the purée on a board covered with cling film or a clean cotton cloth, or on a lightly oiled board, and set it in full sun under a sheet of muslin against insects and dust. Bring it in at night. Once it lifts away from the board, usually after one to three days, turn it over and give it another day or two. In humid or cool weather it can take a week, or never dry properly.
- Dehydrator: spread the purée on the solid fruit-leather sheets, dry at 57 to 60 °C / 135 to 140 °F and turn it once it peels away. Allow 6 to 12 hours for this thickness, depending on the machine.
- Plums outside Georgia: frozen cherry plums (alycha) from Eastern European or Russian grocers make true tklapi. In Britain, wild cherry plums ripen in hedgerows in July and August. Damsons give a very dark, sharp sheet; underripe ordinary plums also work, though the result is milder.
- Sweet tklapi: apricots, peaches, sweet plums, apples, pears or blackberries are cooked and sieved in the same way (stone or core them first). If the fruit is tart, stir 1 to 2 tbsp sugar or honey per kilo into the hot purée. Sweet sheets take longer to dry, stay softer and are eaten as a snack rather than cooked.
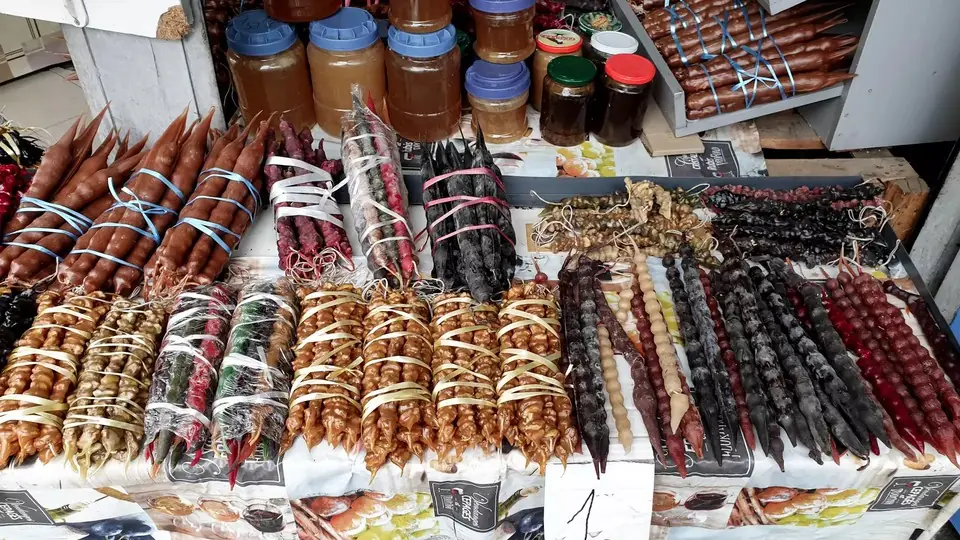
- Grape tklapi: leftover churchkhela batter, grape juice thickened with flour, can be spread and dried like the plum purée into a sweet, chewy sheet. It is no longer gluten-free.
- Cornel cherry (shindi) tklapi: made exactly like the plum version from the small red cornelian cherries. It is sour with a slightly astringent finish, and Georgians count it among their home remedies.
- Seasoned tklapi: some cooks stir a little crushed garlic, chilli, dried herbs or ground spices into the purée before spreading it, for a sheet meant only for the soup pot.
Serve it with
- Kharcho, the beef, rice and walnut soup: a soaked piece instead of tkemali sauce
- Chikhirtma and other broths that want a sour note
- Lobio and other bean dishes, melted in at the end
- Grilled meat, as a quick sour sauce: soak, mash and season with garlic and fresh coriander
- Tea, churchkhela and dried fruit, for the sweet kinds
Make ahead and storage
Rolled in baking paper and kept in a dry, airtight jar or tin in a cool, dark cupboard, sour tklapi lasts for several months, right through the winter, which is the whole point of making it. Stack flat sheets with baking paper between them so they do not glue together. In a warm or humid kitchen keep it in the fridge, or freeze it for up to a year. If a roll turns sticky, put it back in a 60 °C / 140 °F oven for 30 to 60 minutes and let it cool before packing it again; throw away any piece that shows mould.

Maspindzeli Travel, Tbilisi · private tours and cooking classes in Georgia · maspindzeli.ge · WhatsApp +995 598 74 74 54 · hello@maspindzeli.ge